
From Seed to Seedling
Germination Guides
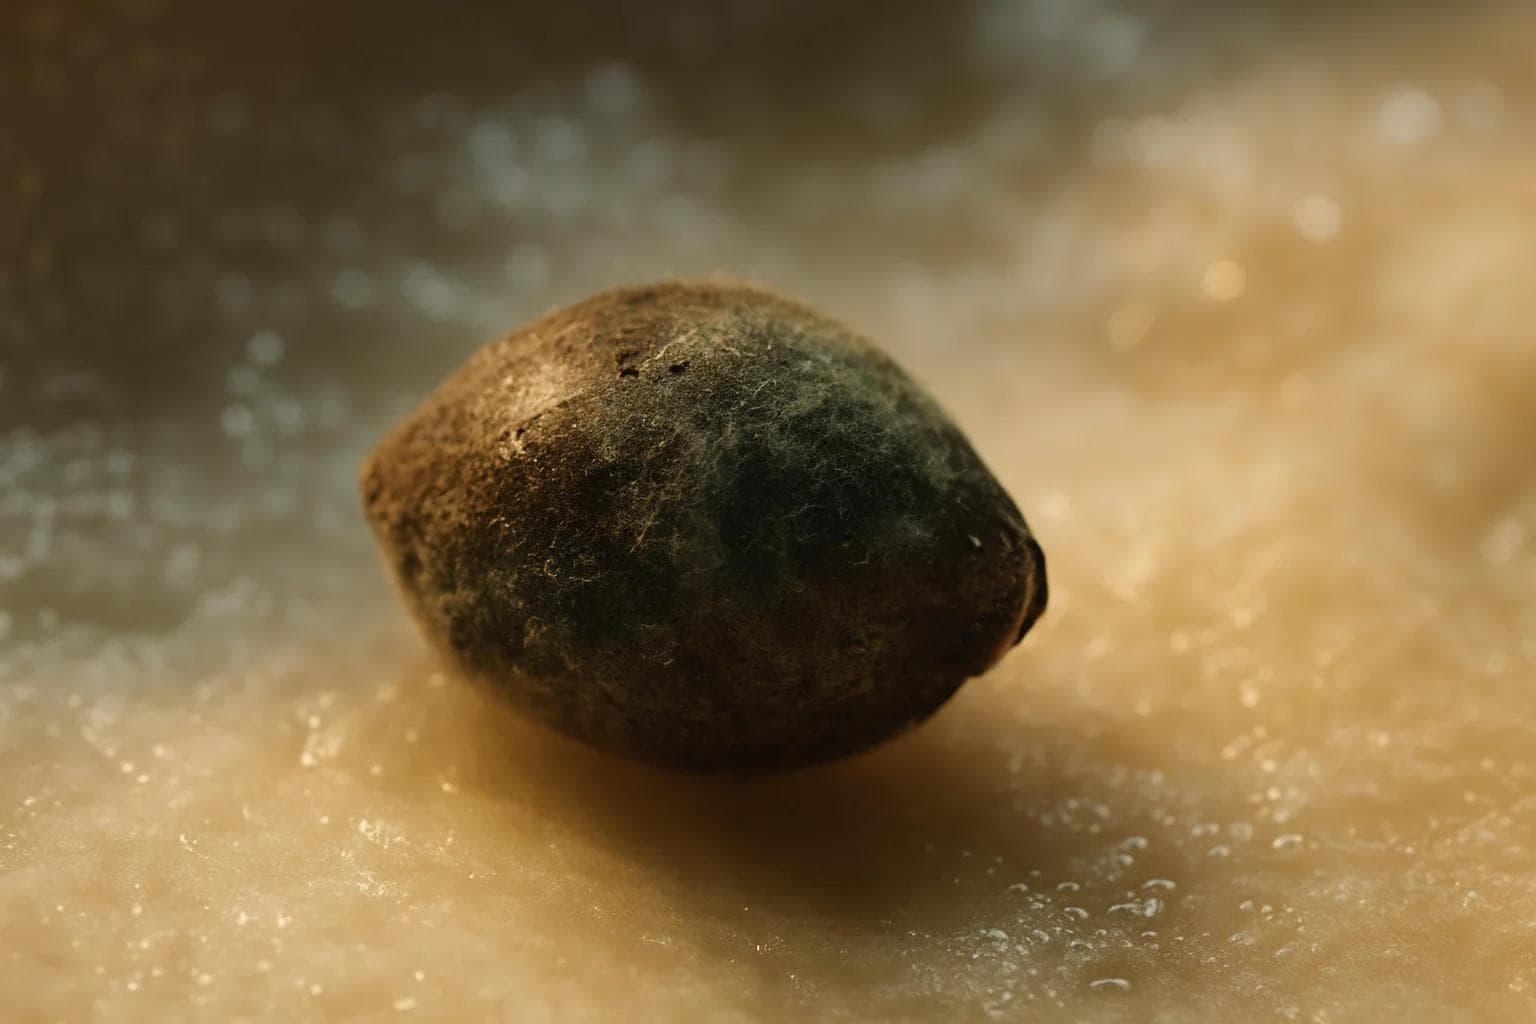
Cannabis Seed Germination Problems — Troubleshooting Guide
Troubleshoot cannabis seed germination problems with proven solutions for temperature control, moisture balance, and hard seed coats.
Cannabis seeds not germinating is almost always caused by temperature below 22°C, incorrect moisture, or a hard seed coat. The optimal germination window is 22–25°C with consistent moisture — not soaking wet, not drying out. Most healthy seeds crack within 24–72 hours. Stubborn seeds respond to a 12–18 hour H2O2 pre-soak.
Why Are Your Cannabis Seeds Not Germinating?
Cannabis seeds fail to germinate for five reasons: temperature out of range, moisture imbalance, planting depth, hard seed coat, or a seed that was already dead before it hit the growing medium. Temperature and moisture together account for the majority of failures — fix those first.
Before you change anything, figure out which one you're actually dealing with:
- Too cold — Room temperature below 20°C stalls germination. See the temperature section below.
- Moisture imbalance — Soggy medium causes rot; dry medium prevents the seed coat from softening.
- Planted too deep — Seeds buried beyond 1cm exhaust their energy before reaching the surface.
- Hard seed coat — Some seeds have a particularly tough shell and need mechanical or chemical assistance to crack.
- Non-viable seed — Old or improperly stored seeds have genuinely zero germination potential. No technique fixes a dead seed.
What Temperature Do Cannabis Seeds Need to Germinate?
Cannabis seeds germinate reliably between 22–25°C (72–77°F). The acceptable range extends from 20–29°C (68–85°F), but performance drops at both extremes. Below 20°C, enzymatic activity slows enough that germination stalls or fails entirely. Above 30°C, seeds can be damaged irreversibly.
For growers in Toronto, Vancouver, Calgary, and other parts of Canada where winter indoor temperatures sit at 18–20°C: ambient room temperature is borderline too cold for reliable germination. A seedling heat mat (set to 24°C) placed under your propagation tray solves this immediately. Do not place your germination setup near exterior walls or drafty windows.
Get a digital thermometer inside your humidity dome — it's the first thing to check when seeds aren't moving. Temperature is almost always the culprit, and it's the easiest fix.
How Do You Fix Seeds That Refuse to Crack?
Start with a 12–24 hour warm water soak (22–25°C distilled water). If the seed still won't crack after that, move to light scarification with 220-grit sandpaper, then an H2O2 pre-soak. A seed that shows no taproot after 72 hours of correct conditions and all three treatments is not viable — move on.
Hard seed coat (also called seed dormancy caused by a thick or naturally hardened testa) is the most common reason a healthy seed simply will not crack despite correct conditions. Three techniques address this, in order of gentleness:
1. Warm water soak (first attempt) Place seeds in a small glass of room-temperature distilled water (22–25°C). Leave for 12–24 hours maximum. The seed coat absorbs water, swells, and softens. Do not exceed 24 hours — waterlogged seeds develop oxygen deficiency. Seeds that sink within 1–2 hours are a good sign; sinkers are typically viable.
2. Scarification (mechanical method) Line a small container (a matchbox works well) with fine-grit sandpaper (220 grit or higher). Place seeds inside, close the container, shake gently for 30 seconds. The goal is micro-abrasions on the seed coat — not damage to the seed itself. Follow with a 12-hour distilled water soak.
3. H2O2 pre-soak (chemical method) See the dedicated H2O2 section below. Use this for seeds that have failed the water soak and scarification approach, or as a first-line treatment for old seeds.
If a seed shows zero taproot emergence after 72+ hours of correct temperature, correct moisture, and at least one of the above treatments, it is not viable. Move on.
Try switching to the paper towel germination method for stubborn seeds — the direct contact with moist paper towel is more effective at delivering consistent moisture to the seed coat than some media-based approaches.
Why Is Your Germination Taking So Long?
If your seeds haven't shown a taproot within 72 hours, the most likely cause is temperature below 22°C or a drying-out medium — fix both before assuming the seed is dead. Normal germination runs 24–72 hours for healthy seeds; older or harder-shelled seeds can take up to 7 days. Beyond 7 days with no visible taproot, the seed is almost certainly non-viable.
If you're consistently seeing slow results, check your pre-soak duration. Seeds soaked longer than 24 hours before planting often show delayed or reduced germination. See our soaking cannabis seeds guide for correct pre-soak protocols.
What Causes Mold or Rot During Germination?
Mold and rot during germination are caused by excess moisture combined with poor airflow, often worsened by contaminated water. The radicle and seed coat are vulnerable to fungal pathogens (primarily pythium) before the seedling has established any natural defenses.
Three conditions create the problem simultaneously:
- Paper towels that are dripping wet rather than evenly moist
- A sealed germination container with no airflow exchange
- Tap water containing chloramine (which does not evaporate and creates a growth medium for bacteria)
A dilute H2O2 pre-soak before germination eliminates most surface pathogens and prevents mold from establishing. See the section below.
Proper dome ventilation is the easiest structural prevention — see our humidity dome setup guide for ventilation protocols that balance moisture retention with airflow.
Does Hydrogen Peroxide Help Cannabis Seeds Germinate?
Yes, a dilute hydrogen peroxide soak softens the seed coat, adds dissolved oxygen to the germination environment, and kills surface fungi and bacteria before they can colonize the seed. It is particularly effective for old seeds, seeds with visible mold risk, and stubborn shells that have not responded to plain water soaking.
Protocol:
- Mix 1ml of 3% H2O2 (standard pharmacy grade) into 50ml of distilled water
- Soak seeds for 12–18 hours maximum
- pH target: 6.0–6.5 in the solution
- After soaking, transfer directly to your germination medium — do not rinse
- Use room temperature solution (22–25°C)
Why Are Your Seedlings Stretching and Falling Over?
Leggy, stretched cannabis seedlings (etiolation) are caused by insufficient light intensity or by light positioned too far from the seedling. The plant stretches toward the light source, producing a long, weak stem that cannot support itself. Temperature imbalance can worsen the effect.
Cause-fix pairs:
What Is Damping Off and How Do You Stop It?
Damping off is the collapse and death of a seedling caused by fungal pathogens — primarily pythium and fusarium — that attack the stem at the soil line. The stem thins, softens, and pinches as if squeezed, causing the seedling to fall over and die within hours of first symptoms. By the time it is visible, it is almost always fatal.
Prevention is the only reliable strategy:
- Use sterile, well-draining propagation media (avoid reused or outdoor soil)
- Never allow water to pool at the base of seedlings
- Maintain airflow — a small fan on low prevents the stagnant humid microclimate that damping off pathogens need
- Water from below when possible (bottom-watering) to keep the stem base drier
- Pre-treat your growing medium and water with dilute H2O2 (1–2ml per litre) as a preventive measure
If a seedling shows early damping off symptoms and the medium is waterlogged, immediate aggressive drying (remove dome, increase airflow, stop watering) combined with isolating affected seedlings may save neighboring plants. It will not save the affected seedling.
Can You Still Germinate Old or Stored Cannabis Seeds?
Yes — seeds stored correctly can remain viable for 5 or more years, but germination rates decline predictably with age and storage quality. Rough benchmarks: fresh seeds (under 1 year) germinate at 80–95%; seeds 2–3 years old drop to 50–70%; seeds 5+ years may germinate at 20–40% depending on storage conditions.
Revival protocol for old seeds:
- Perform the float test — drop seeds into room-temperature distilled water. Sinkers are likely viable; floaters after 2 hours are likely dead.
- Scarify lightly with 220-grit sandpaper (30-second shake in a lined container)
- Soak in 3% H2O2 solution (1ml per 50ml distilled water) for 18–24 hours
- Transfer to a warm (24–25°C), moist paper towel in a sealed bag
- Check every 12 hours — do not disturb seeds unnecessarily
Seeds stored in humid regions — Halifax in summer, coastal BC year-round — need extra desiccant in storage containers. Moisture is the primary accelerant of seed degradation. For assessment of whether seeds are worth attempting, see our cannabis seed anatomy and viability guide.
Should You Use Tap Water or Distilled Water for Germination?
Distilled water or reverse osmosis water is best. Spring water is acceptable. Tap water is workable only after dechlorination — let it sit in an open container for 24 hours to allow chlorine to off-gas.
Do not use tap water in cities where the municipal supply uses chloramine instead of chlorine. Chloramine does not evaporate and inhibits germination by disrupting the microbial environment inside the growing medium. Cities including Denver and Chicago use chloramine treatment — check your local water utility if unsure.
Target pH: 6.0–6.5 for all germination water. Hard or alkaline tap water above pH 7.5 can impede water uptake through the seed coat.
How Deep Should You Plant Cannabis Seeds?
The correct planting depth is 0.5–1cm (1/4 to 1/2 inch). Orientation: pointy end (crown) facing up, round end facing down — the taproot emerges from the round base.
Seeds planted deeper than 1.5cm often fail to reach the surface. The seed has only enough energy stored in the endosperm to fuel emergence — push it too deep and the seedling runs out of fuel before it sees light. Too shallow is its own problem: surface seeds dry out fast and can fail to develop the root orientation needed for stable anchoring.
For more detail on direct-soil germination depth and technique, see our direct soil germination guide.
Do Autoflower Seeds Need Different Germination Treatment?
Autoflower seeds germinate using exactly the same process as photoperiod seeds — the same temperature, moisture, depth, and timing requirements apply. There is no meaningful biological difference at the germination stage.
Where it diverges is immediately after germination. Autoflower seedlings should go directly into their final container (3–5 gallon pot) rather than a small starter pot. Autoflowers run on a fixed internal clock regardless of light cycle — time lost to transplant shock comes directly off your harvest window. Photoperiod plants can absorb that stress and catch up; autoflowers cannot afford to.
For feminized autoflowering varieties suited to indoor cultivation, browse autoflowering seeds. For photoperiod feminized seeds with more transplant flexibility, browse premium feminized seeds.
FAQ
How long should it take for my seed to crack?
Most healthy seeds crack within 24–72 hours at the right temperature and moisture. If your seed shows no activity after 5–7 days, it's likely non-viable or the conditions are off—check your temperature first (aim for 22–25°C).
Should I pre-soak my seeds, and for how long?
Pre-soaking isn't required for most seeds, but it helps stubborn ones crack faster. Try a 12–18 hour soak in plain water or diluted H2O2 (3%), then plant immediately in moist (not waterlogged) medium.
What moisture level is best for germination?
Keep your growing medium consistently moist but never waterlogged—think "wrung-out sponge." Check daily and add water if the surface starts to dry; soggy medium leads to rot, while dry medium prevents the seed coat from softening.
How do I tell if a seed is dead vs. just slow?
A viable seed will sink in water and feel slightly firm when gently squeezed. After 7–10 days with proper temperature (22–25°C) and moisture, if no tap root has emerged, the seed is likely non-viable—old age or poor storage are the usual culprits.
19+ | Educational horticulture only.