
From Seed to Seedling
Germination Guides
Germinating Cannabis Seeds in Coco Coir — Complete Guide
Discover how to germinate cannabis seeds in coco coir successfully with expert tips on buffering, temperature, humidity domes, and seedling nutrition.
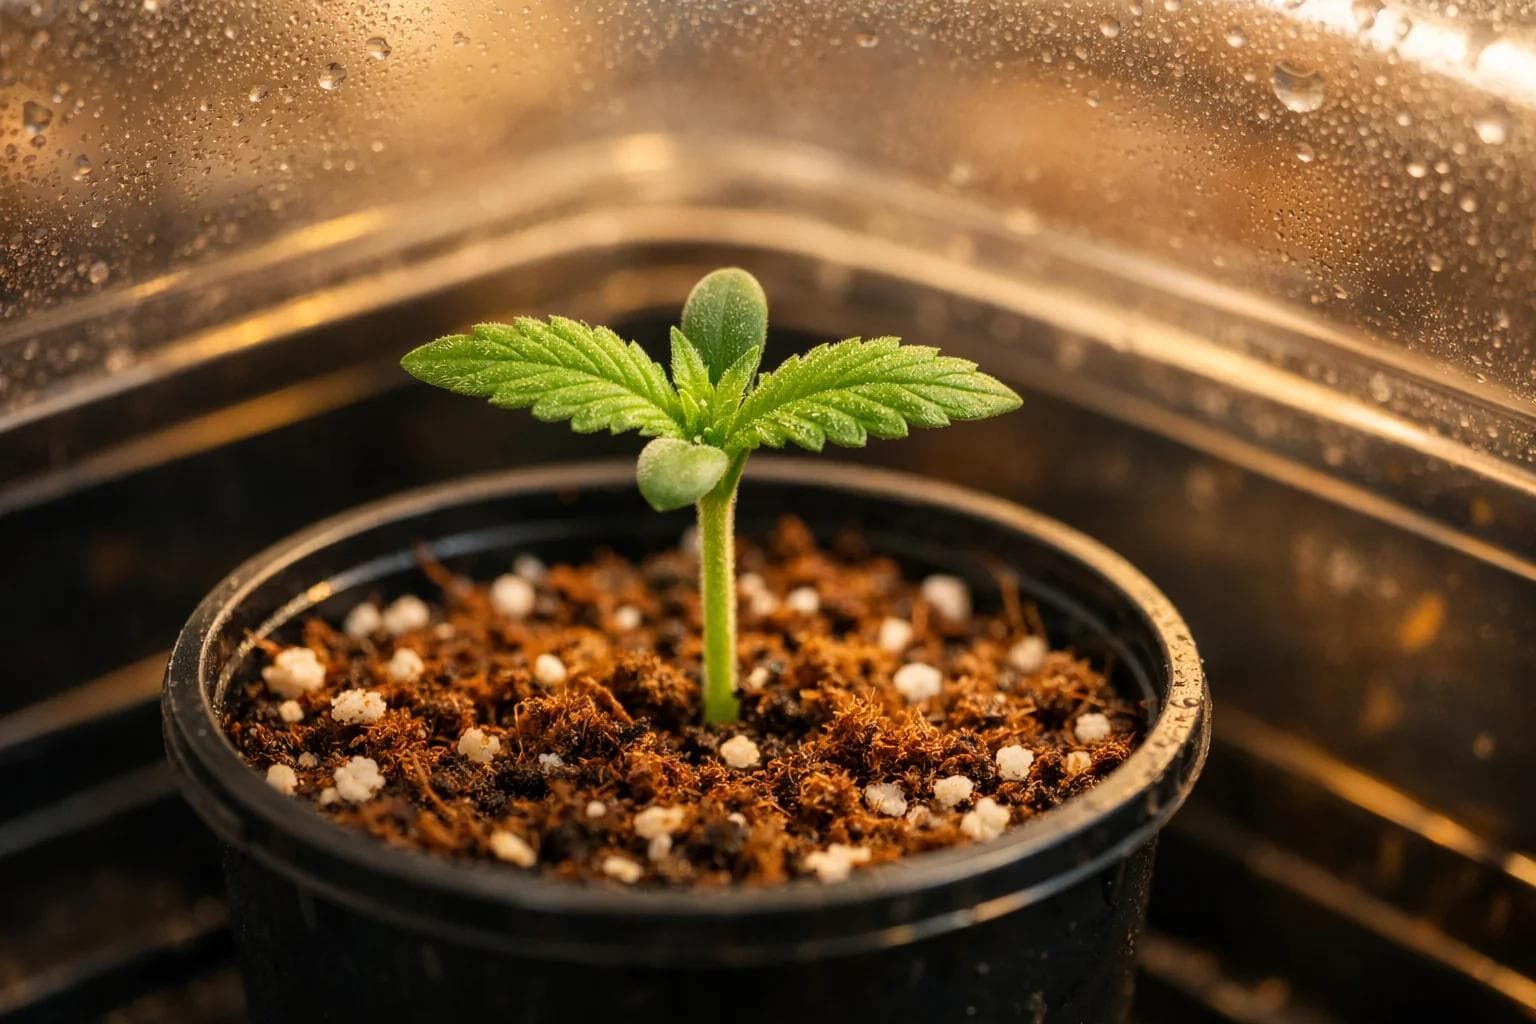
Germinating cannabis seeds in coco coir means pre-buffering the medium with CalMag, pre-germinating your seed in a paper towel or starter plug, then transplanting the cracked seed 1–1.5 cm deep into a 70/30 coco-perlite mix at pH 6.0. Keep temperatures at 21–29°C, use a humidity dome through Day 7, and start light CalMag fertigation at Day 5.
Coco coir is the most popular soilless medium for indoor cannabis — fast drainage, outstanding root-zone aeration, and complete control over every nutrient from Day 1. That control is also the catch. Coco behaves nothing like soil. Skip the buffering step, run the wrong pH, or let it dry out once, and your seedlings will show deficiencies within 48 hours. This guide covers everything from medium prep through your first 14 days, with the coco-specific detail most guides either bury or skip entirely. For a full overview of all germination methods, see the Complete Cannabis Seed Germination Guide. Shop cannabis seeds.
Is Coco Coir Better Than Soil for Germinating Cannabis Seeds?
Coco coir is a soilless, inert medium made from coconut husk fibres. Because it contains no nutrients of its own, you control every variable from the moment the seed cracks. Whether it outperforms soil depends entirely on your experience level and how much precision you want.
What Are the Advantages of Coco Coir for Cannabis Seedlings?
Coco coir gives cannabis seedlings outstanding root aeration, faster vegetative growth than most pre-made soil mixes, and complete nutrient transparency — deficiencies show up fast and correct just as fast. Because coco is inert, you are rarely guessing what the medium is contributing.
The physical structure of coco coir is another underappreciated advantage. Coconut husk fibres create a naturally porous matrix that holds oxygen in the root zone even when the medium is moist. In a well-mixed 70/30 coco-perlite blend, roots can expand rapidly in all directions without hitting compacted zones. Growers commonly observe seedlings in coco doubling root mass in the first week compared to seedlings started in heavy store-bought soil. That early root development translates directly into faster canopy growth during the vegetative stage.
Coco is also reusable. With a thorough flush and re-buffer between cycles, a quality batch of coco-perlite can be used for two or three grows before the fibre structure degrades — a real cost advantage over single-use starter plugs or pre-amended soil.
What Are the Downsides of Starting Cannabis Seeds in Coco Coir?
Coco is unforgiving for first-time growers. It requires pre-buffering with CalMag, strict inflow pH between 5.8 and 6.2, consistent fertigation frequency, and supplemental calcium and magnesium from the first feed. A single dry-out or un-buffered batch can trigger calcium deficiency within 48 hours. If you prefer a lower-maintenance start, see Direct Soil Germination — Planting Cannabis Seeds Straight Into Soil.
The watering schedule is where most new coco growers struggle. In soil, you water, wait for the pot to feel light, then water again. In coco, that "wait until dry" approach creates wet-dry oscillations that stress roots and invite salt buildup. Coco performs best when maintained at consistent moisture — not saturated, never truly dry. Many experienced growers water small volumes twice daily rather than one large watering every two or three days. This is easier to manage with an automated drip system but absolutely achievable by hand in a small tent.
There is also the question of sodium content in raw coco. Low-quality or improperly rinsed coco bricks can carry elevated sodium and chloride levels left over from the processing of the coconut husk. Sodium competes with potassium uptake and can lock out calcium even in a buffered medium. Always source from a reputable brand that pre-rinses and certifies EC levels, or plan to do a thorough flush yourself before buffering.
How Do You Prepare and Buffer Coco Coir Before Planting Cannabis Seeds?
Buffering coco coir is the process of pre-loading the medium with calcium and magnesium before any seeds or roots arrive. Raw coconut coir has a high cation exchange capacity (CEC) — it aggressively binds Ca²⁺ and Mg²⁺ ions from your nutrient solution and holds them in the medium rather than making them available to roots. Without buffering, your CalMag supplementation goes directly into feeding the coco instead of the plant.
Think of it this way: coco fibre has a fixed number of binding sites. Those sites will be occupied — either by calcium and magnesium you introduced during buffering, or by calcium and magnesium stripped from your seedling's first feeds. Buffering fills those sites in advance so that when you start fertigation, the ions you add go to the plant, not the medium.
Step-by-step buffering protocol:
- Hydrate — add warm water to dried coco bricks or loose coco until fully expanded. Drain off excess standing water.
- Mix CalMag solution — full label-rate CalMag (typically 2 mL/L) dissolved in pH-adjusted water at pH 6.0–6.2.
- Soak — submerge expanded coco in CalMag solution for a minimum of 8 hours. Loose pre-hydrated coco requires 4–6 hours; compressed bricks need 12–24 hours.
- Drain and press — squeeze or press excess liquid out. Final texture: moist and crumbling, not waterlogged.
- Rinse once — flush with plain pH-adjusted water at pH 6.0 to remove loose surface salts.
- EC check — measure runoff EC. Below 0.5 μS/cm means the medium is ready to plant. Above 0.5 means residual salts remain — rinse and recheck.
A practical tip: buffer your coco the evening before you plan to transplant. This gives the medium a full overnight soak, a morning drain, and enough time to reach the slightly moist — never dripping — texture that seedlings need. Transplanting into medium that is too wet is one of the leading causes of damping off in coco, where excess moisture around the hypocotyl invites fungal pathogens. Press a small handful of buffered coco firmly in your fist — if only a few drops of water fall out, the moisture level is correct. If water streams freely, it needs more drainage time before planting.
When mixing in perlite, aim for a 70% coco / 30% perlite ratio by volume. Perlite does not need buffering — its smooth, glassy surface has negligible CEC and contributes only drainage and aeration. Mix thoroughly before filling your containers so every part of the root zone has consistent structure. Inconsistent mixing leads to dry pockets and wet pockets, which causes uneven root development and inconsistent EC readings in runoff.
What Happens If You Don't Buffer Coco Coir Before Planting?
Unbuffered coco immediately strips calcium and magnesium from your fertigation solution. Within the first 48 to 72 hours after a seedling pushes its first true leaves, you will typically see the edges of cotyledons yellowing and upward leaf curl — classic early calcium deficiency symptoms. By the time visual symptoms appear, the deficiency has already been developing at the cellular level for one to two days. Recovery is possible but costs you several days of growth momentum at the most critical window in the plant's life.
In practice, unbuffered coco also makes pH unstable. As the medium binds Ca²⁺ and releases H⁺ ions in exchange, the effective pH in the root zone drops below what your inflow meter reads. You may be watering at pH 6.0 and seeing 5.4 in the root zone — a range where iron and manganese become excessively available and calcium becomes locked out. Buffering stabilises this exchange process so that your measured inflow pH is close to what the roots actually experience.
FAQ
Why do I need to buffer coco coir with CalMag before planting my seeds?
Coco coir naturally contains high sodium and potassium, which block calcium and magnesium uptake. Pre-buffering with CalMag (typically 1–2 weeks before planting) displaces these ions and ensures your seedling can access nutrients from Day 1. Without buffering, even well-fed seedlings will show calcium and magnesium deficiencies within 48 hours.
How often should I water seedlings in coco coir?
Coco coir drains much faster than soil, so you'll water more frequently—typically every 1–2 days depending on temperature, pot size, and humidity. Check moisture by inserting your finger 1 cm deep; if it feels dry, water immediately. Never let coco dry out completely, as the medium becomes hydrophobic and water will run straight through.
What pH should I target for coco coir germination?
Coco coir has a narrower pH window than soil—aim for 5.8–6.2, with 6.0 as your target. Outside this range, nutrient lockout occurs rapidly, especially for calcium and magnesium. Always pH your water and any nutrient solutions before feeding to stay within this window.
Why do seedlings in coco coir show deficiencies so fast compared to soil?
Coco coir is inert and contains zero buffering capacity, meaning every mistake—wrong pH, missed CalMag, over/underwatering—shows up immediately. Soil, by contrast, contains nutrients and natural pH buffering that masks early errors. This is both a strength (you catch problems early) and a weakness (less room for error).
Should I mix coco coir with perlite, or use it straight?
A 70/30 coco-to-perlite blend is ideal for seedling germination because perlite improves drainage and root-zone aeration. Pure coco can become compacted and retain too much moisture, leading to damping off and root rot. The perlite keeps the medium loose and oxygenated during those critical first two weeks.
19+ | Educational horticulture only.