
Master Your Indoor Grow
Indoor Growing Guides
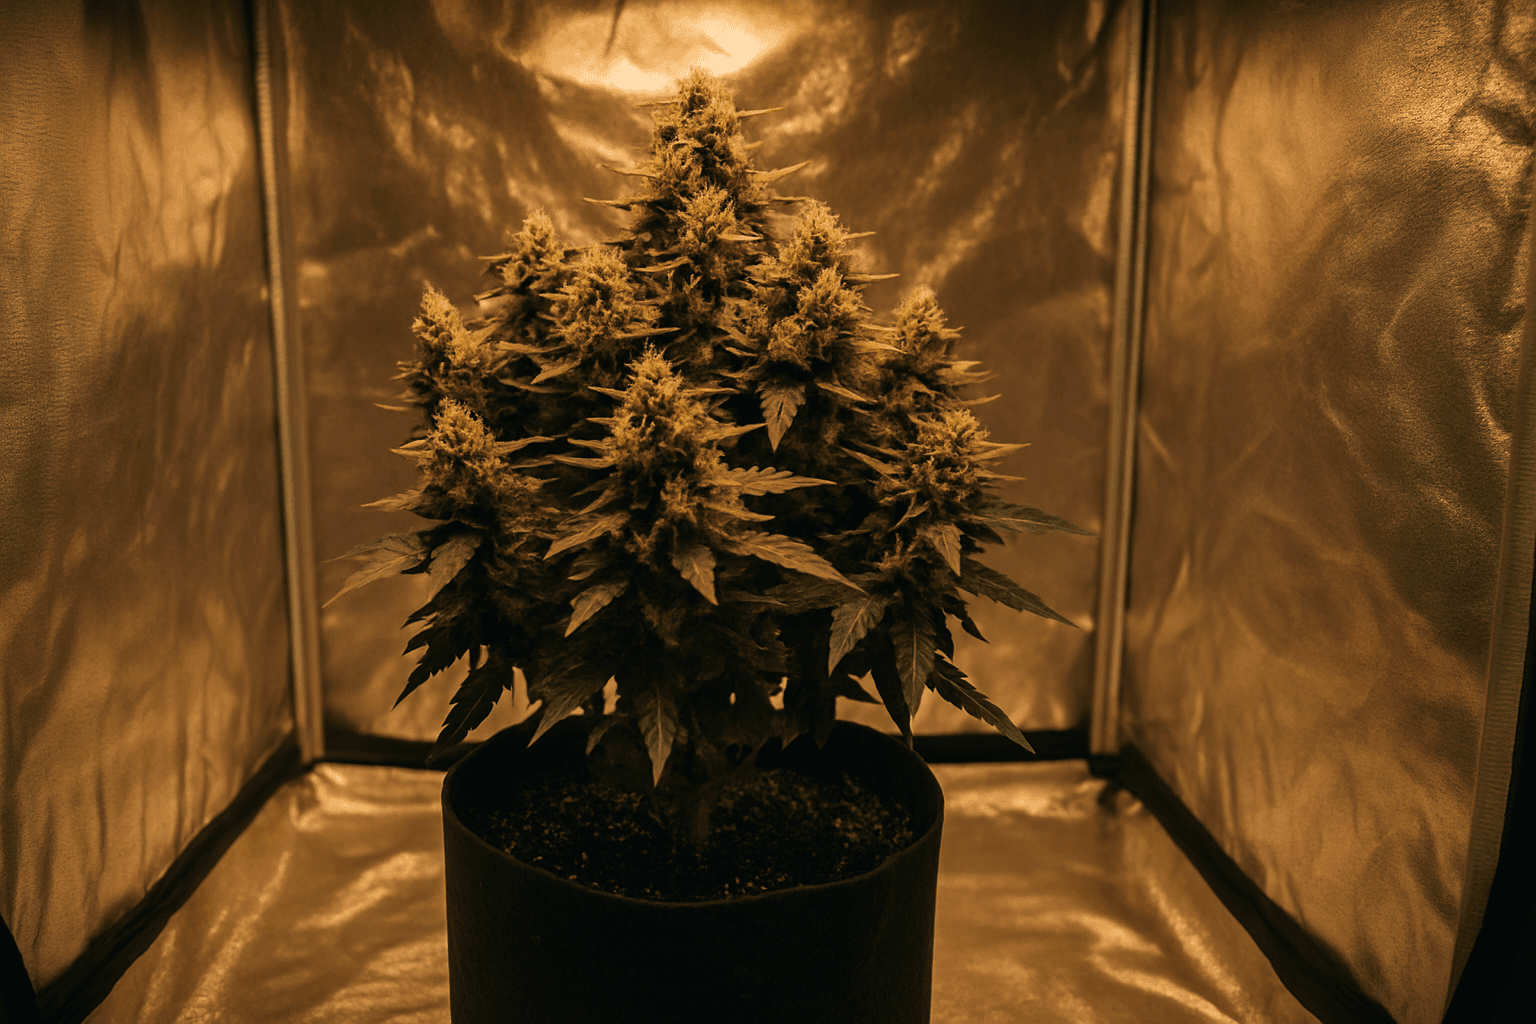
Autoflowering Cannabis Growing Guide: Seed to Harvest in 70 Days
Complete autoflowering cannabis growing guide — timeline, key differences from photoperiod, training, feeding, and common beginner mistakes to avoid.
Autoflowering cannabis plants complete their entire lifecycle in approximately 70 days on their own internal schedule, requiring no photoperiod adjustments. During weeks 1–2 (seedling stage), maintain 65–70% humidity and 22–26°C temperatures with minimal watering and no feeding. Weeks 3–5 bring rapid vegetative growth—your window for training before buds form. Introduce light nutrients by week 3. Flowering begins around week 6, with preflowers and bud stacking continuing through week 10. This compressed timeline means autoflowering plants demand consistent conditions and faster nutrient response than photoperiod strains, but reward growers with a complete harvest in roughly 10 weeks from seed.
Overview
Autoflowering cannabis varieties fundamentally changed what's possible for Canadian home growers. No more managing light schedules, no more waiting through long vegetative cycles — autos move from seed to harvest in roughly 65–85 days, stay compact enough for tight spaces, and flower automatically regardless of how many hours of light they receive. Whether you're growing in a basement, a spare closet, or a small tent, autoflowering genetics make high-quality harvests faster and more accessible than ever before.
Summary
Autoflowering cannabis is one of the best entry points into home cultivation — fast turnaround, manageable plant sizes, and the ability to run 3–4 full harvests per year in a standard Canadian grow setup. Get the fundamentals right (final pot from day one, gentle LST, controlled feeding) and autos consistently reward you. Explore Premium Pheno Seeds' autoflowering selection for stable, high-performing genetics purpose-built for Canadian growers.
Autoflower Timeline
Understanding your auto's internal clock is everything. Unlike photoperiod plants that wait for your cue, autos run on their own schedule — and that schedule doesn't pause.
Weeks 1–2 (Seedling Stage): Your plant is fragile and focused on root development. Keep humidity around 65–70%, temperatures between 22–26°C, and resist the urge to feed. Light watering only — overwatering at this stage is one of the fastest ways to stall growth.
Weeks 3–5 (Vegetative Stage): The plant pushes hard, developing nodes, branches, and fan leaves. This is your window for any training (more on that below). Growth is rapid — some autos double in size during this phase. Introduce light nutrients by week 3.
Weeks 6–10 (Flowering Stage): Preflowers appear, pistils emerge, and buds begin stacking. This is where your feeding, environment, and airflow really matter. Maintain consistent light, stable temperatures (20–24°C), and lower humidity (45–55% RH) to prevent mold and maximize resin production.
Week 11+ (Flush and Harvest): Trichomes shift from clear to cloudy to amber — your harvest window. Flush with plain pH-balanced water for the final 5–10 days. The average seed-to-harvest timeline is 65–85 days, though some faster varieties finish closer to 60, and heavier yielders may push 90. The accelerated pace means every week counts — there's no room to coast.
Common Mistakes
A few errors account for the majority of disappointing auto harvests:
Transplanting: Never transplant autoflowers. The root disturbance and recovery time eat directly into your limited grow window. Germinate directly into your final container — a 3–5 gallon pot is the sweet spot for most indoor autos.
Overfeeding: As covered above, autos don't need or want heavy feeding. More nutrients does not mean more yield — it means salt buildup, nutrient lockout, and stressed plants that underperform.
Topping or high-stress training: Even experienced growers sometimes push this and get away with it under ideal conditions, but it's not worth the risk. LST only.
Interrupting the light cycle with darkness: Unlike photoperiods, autos don't require a dark period to trigger or maintain flowering. Running lights at 18–20 hours per day maximizes photosynthesis and energy for bud production. Unplanned dark periods from power interruptions or timer failures don't re-veg your auto, but they do cost you growth hours you can't recover.
Feeding Autoflowers
Autoflowers are light feeders — one of the most common grower mistakes is treating them like photoperiod plants at the nutrient level. As a baseline, dial your feeding back to roughly 65–70% of what you'd give a photoperiod strain at the same stage.
Hold off on nutrients entirely for the first 2–3 weeks. A quality aerated growing medium — a light peat or coco-perlite mix — often has enough baseline nutrition to carry seedlings without any supplemental feeding. Introducing nutrients too early burns sensitive young roots and causes deficiencies that look counterintuitive.
When you do begin feeding, ramp up gradually. Nitrogen-forward formulas during early veg, transitioning to phosphorus and potassium-heavy bloom nutrients as flowering kicks in. Several nutrient companies now produce autoflower-specific feeding schedules with lower base EC values — these are worth using if available, as they're calibrated for the shorter cycle and reduced uptake volume.
Watch your plants closely. Slight yellowing of lower fan leaves late in flower is normal — aggressive feeding to compensate often does more harm than good. Flush the final 5–10 days with clean, pH-balanced water (6.0–6.5 for soil, 5.8–6.0 for coco) to finish clean.
Key Differences
Growing autoflowering cannabis requires a genuine shift in mindset compared to photoperiod cultivation. Here's what actually changes:
No light schedule manipulation: Autos flower based on age, not light hours. You can run 18/6 or even 20/4 light schedules from seed to harvest without ever flipping to 12/12. This simplifies your setup significantly.
Smaller physical footprint: Most autos stay between 40–100cm tall indoors. They're ideal for low-profile grows, but that compact size does mean lower yield per plant compared to a well-trained photoperiod. Compensate by running multiple plants simultaneously.
Faster but less forgiving: The same speed that makes autos appealing also limits your ability to intervene. A photoperiod plant that hits a rough week in veg can recover — you simply extend the vegetative period. An auto can't wait. Stress, deficiencies, or mistakes cost you time you don't have.
No practical cloning: Because autos flower by age, a clone taken from an auto will flower on the same timeline as the mother — meaning you get a tiny, already-maturing plant with almost no yield potential. Start fresh from seed every run. This makes genetics selection critical — choose proven, stable autoflowering strains from a reputable seed bank.
Training Autoflowers
Training autoflowers is possible — but the rules are different, and ignoring them will cost you yield.
Low Stress Training (LST) is your primary tool. Gently bending and tying down branches to create a flat, even canopy allows more bud sites to receive direct light without inflicting the kind of damage that takes weeks to recover from. Start LST between day 14–21, once the plant has 3–4 nodes established but before flowering begins. Use soft ties or purpose-made plant clips, and work slowly — bend gradually over several days rather than forcing branches flat all at once.
Avoid topping, FIMing, and any high-stress techniques. These methods work well on photoperiods because you control when flowering starts — you have time to let the plant recover and explode with new growth. Autos don't give you that buffer. Topping an auto at the wrong moment can stunt it significantly, resulting in a smaller harvest than if you'd left it alone entirely.
The goal with auto training is simple: maximize light penetration and create an even canopy, not reshape the plant dramatically. Keep your hands gentle, your adjustments gradual, and let the genetics do the heavy lifting.
FAQ
How long does it really take to grow autoflowers?
Most autoflowers are ready from seed to harvest in 65–85 days, though faster varieties can finish in 60 days and heavier-yielding strains may take up to 90 days. The accelerated timeline means every week counts, so proper care during each stage is critical to hitting your target harvest date.
Can I transplant my autoflower to a bigger pot?
No — never transplant autoflowers. The root disturbance and recovery time eat directly into your limited grow window and can set your plant back by weeks. Germinate directly into your final container (a 3–5 gallon pot works well for most indoor autos) from the start.
When should I start feeding nutrients to my autoflower?
Avoid feeding during the seedling stage (weeks 1–2) and focus only on light watering. Start introducing light nutrients by week 3 when the plant enters the vegetative stage, then gradually increase feeding as it moves into flowering (weeks 6–10) when nutrient demands are highest.
What humidity and temperature do I need during flowering?
During the flowering stage, keep temperatures steady at 20–24°C and lower humidity to 45–55% RH to prevent mold and maximize resin production. Since autoflowers are on a fixed timeline and can't recover from stress like photoperiod plants, maintaining these stable conditions is essential.
19+ | Educational horticulture only.