Master Your Indoor Grow
Indoor Growing Guides
How to Water Cannabis Plants: Frequency, pH & Common Mistakes
Master cannabis watering — how often to water, how much, correct pH range, and how to fix overwatering and underwatering.
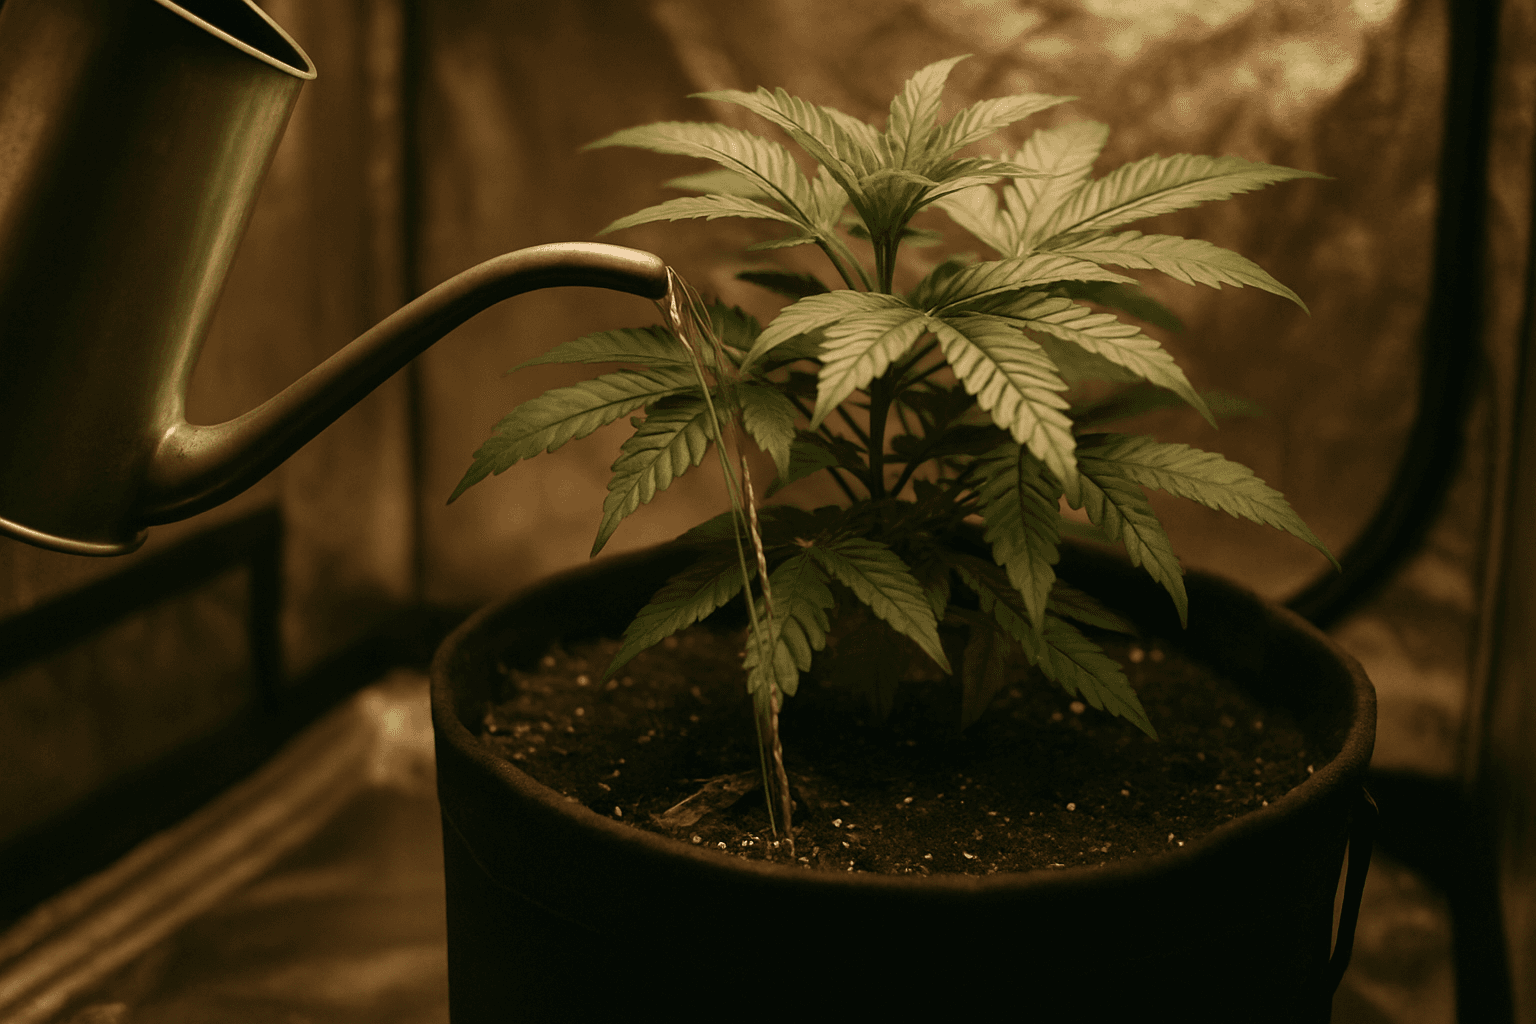
Water cannabis plants until approximately 20% of the water drains from the pot's bottom — for example, if you add 1 litre of water, roughly 200 ml should run off. This ensures even hydration throughout the root zone and prevents dry pockets. Proper cannabis watering frequency and volume depend directly on pot size; a seedling in a 4-litre pot needs significantly less water per session than a mature plant in a 20-litre fabric pot. Scale your watering volume proportionally as your plants grow, and maintain the correct pH range for your growing medium. Consistent attention to these fundamentals — frequency, volume, and pH — creates healthy roots and stronger yields from seedling through harvest.
A consistent, attentive watering routine — proper frequency, correct volume, and dialed-in pH — is the foundation of every successful cannabis grow. Master these basics and your plants will have everything they need to thrive from seedling to harvest. Healthy roots, healthy plant, heavy yield. It really is that simple. Shop premium cannabis seeds to begin your next grow.
A reliable rule of thumb is to water until you achieve roughly 20% runoff — meaning if you pour 1 litre into a pot, about 200 ml should drain from the bottom. This ensures the entire root zone is hydrated evenly and prevents dry pockets from forming in the lower medium. Runoff also serves a second purpose: it flushes out accumulated salts and mineral buildup that collect near the bottom of the pot over time. Ignoring runoff, or actively preventing it by using saucers without emptying them, leads to salt toxicity and progressively worsening nutrient problems as the grow continues.
Pot size matters directly. A seedling in a 4-litre pot needs far less water per session than a mature plant in a 20-litre fabric pot. Scale your watering volume proportionally and increase it as the plant grows and the root system expands. In the first two weeks after germination, many experienced growers use a spray bottle or a small measuring cup rather than a full watering can — this gives precise control and dramatically reduces the risk of oversaturation in a small volume of medium. As the plant enters the vegetative stage and roots begin to colonize the pot, you can transition to full watering cycles with confidence.
Watch for pooling on the surface — water sitting on top of your soil rather than absorbing quickly is a sign of compaction or hydrophobic dry soil. If this happens, water slowly in small amounts, or consider gently aerating the top layer with a chopstick or skewer. Compacted soil reduces oxygen to roots and creates uneven moisture distribution, both of which hurt plant health and yield. Some growers add a thin layer of perlite or coarse sand to the top inch of their medium specifically to prevent surface crusting during long grows. If pooling is severe, a targeted drench with a mild wetting agent (used sparingly) can help restore proper absorption before resuming your normal routine.
The lift method is one of the most reliable low-tech tools available to any soil grower. Pick up your pot immediately after watering, note how heavy it feels, then pick it up again one, two, and three days later. When the pot feels noticeably lighter — roughly half the weight of a freshly watered pot — you're in the ideal window to water again. This technique works regardless of pot size, medium brand, or strain, because it measures actual moisture content rather than relying on calendar schedules or guesswork.
Watering is the single most common place beginners kill an otherwise healthy cannabis plant. Too much, too little, or the wrong pH — any one of these mistakes can stunt growth, cause nutrient deficiencies, or destroy your roots entirely. Nail your watering routine and everything else in the grow becomes significantly easier.
Overwatering is the most common mistake in cannabis cultivation, and it doesn't always mean you're pouring too much water at once — it usually means you're watering too frequently and not allowing the medium to dry between cycles.
Key signs of overwatering:
- Leaves drooping and clawing downward — the whole leaf curls under, including the tips
- Leaves turning yellow, especially lower fan leaves
- Soil that stays wet for more than 3–4 days
- A sour or musty smell from the medium indicating early root rot
The fix: Stop watering immediately and allow the pot to fully dry to that 'light pot' feel before watering again. Improve drainage by ensuring your pots have adequate holes and consider adding perlite (15–30%) to future mixes to increase aeration. If root rot is suspected, a beneficial bacteria product containing Bacillus subtilis can help recovery. Bacillus subtilis colonizes the root zone and outcompetes the pathogenic organisms — primarily Pythium species — responsible for root rot. Products containing Trichoderma strains offer similar protective and remedial benefits and can be added to your watering routine preventatively throughout the grow.
Underwatering is less common but causes its own set of problems. A plant that is allowed to dry out completely — to the point where leaves wilt and the medium pulls away from the sides of the pot — experiences stress that interrupts vegetative growth and, if it happens repeatedly during flowering, can reduce final yield and terpene production. Consistency is the goal. Neither chronically wet nor bone dry; a healthy rhythm of wet, partial dry, water again is what cannabis roots are built to thrive in.
pH is invisible, easy to ignore, and responsible for a huge percentage of nutrient problems in cannabis grows. Even if your soil or nutrient solution is perfectly dialed in, the wrong pH prevents plants from absorbing those nutrients — a problem called nutrient lockout.
Target pH ranges by growing medium:
- Soil: 6.0–7.0 (sweet spot around 6.3–6.8)
- Coco coir or hydro: 5.5–6.5 (aim for 5.8–6.2)
For soil growers, municipal tap water sitting at pH 7.5–8.0 is one of the most overlooked causes of slow growth and pale leaves. The fix is straightforward: use pH Down (phosphoric acid is the most common) to bring your water or nutrient solution into range before feeding. Always add nutrients to water first, mix thoroughly, then measure and adjust pH last — adding pH adjuster before nutrients changes the final reading and forces you to re-correct.
A decent digital pH pen is an essential tool and costs very little relative to the problems it prevents. Calibrate your pen monthly using calibration solution (pH 4.0 and 7.0 buffer solutions are standard), and store the probe tip in electrode storage solution or a small amount of pH 7.0 buffer — never in plain water, which degrades the membrane and causes drift. A well-maintained pen gives accurate readings for years. A neglected one gives false confidence while your plants suffer.
For soil grows using high-quality amended organic mixes, pH is often more forgiving because the biology in the medium buffers fluctuations naturally. Living soil setups, where microbial activity is actively cultivated, can tolerate a wider range without nutrient lockout symptoms. However, this is not a reason to skip monitoring entirely — it is a reason to test runoff pH periodically to confirm the buffer is holding. If runoff pH starts drifting below 5.8 or above 7.2 in what should be a buffered organic mix, it signals that something in the feeding program or water source is overwhelming the medium's natural capacity to self-correct.
Getting pH right from the very first watering — before problems show up — is far easier than diagnosing and correcting a lockout mid-grow. A few minutes adjusting your water before every feed is one of the highest-return habits you can build as a cannabis grower.
FAQ
How do I know if I'm overwatering or underwatering my cannabis plants?
Overwatering causes yellowing leaves, soft stems, and musty smells from root rot; underwatering shows drooping leaves and pale coloring that recover quickly after watering. The 20% runoff rule helps you hit the sweet spot—water until a fifth of what you pour drains out, ensuring the entire root zone stays hydrated without waterlogging. If you're unsure, let the top inch of soil dry out slightly before watering again.
Why is the 20% runoff rule important?
Runoff ensures your entire root zone gets evenly hydrated while flushing out accumulated salts and mineral buildup that collect at the bottom of the pot over time. Without proper runoff, salt toxicity builds up progressively and creates nutrient problems that worsen as the grow continues. It's a simple check that prevents most common watering mistakes.
When should I switch from a spray bottle to regular watering?
Use a spray bottle or measuring cup for the first two weeks after germination when your seedling is in a small volume of medium—this gives you precise control and prevents oversaturation. Once your plant enters the vegetative stage and roots begin spreading through the pot, you can transition to full watering cycles with confidence. The key is scaling water volume to both pot size and plant maturity.
What causes water to pool on top of the soil and how do I fix it?
Pooling happens when soil is compacted or has become hydrophobic (water-repellent), preventing water from absorbing properly. Water slowly in small amounts to let it sink gradually, or gently aerate the top layer with a chopstick to break up compaction. Compacted soil reduces oxygen to roots and creates uneven moisture, both of which hurt plant health.
19+ | Educational horticulture only.