
Master Your Indoor Grow
Indoor Growing Guides
Cannabis Temperature, Humidity & VPD: The Indoor Environment Guide
Optimize your cannabis grow environment — ideal temperatures, humidity levels for each stage, VPD explained, CO2 basics and environmental monitoring tools.
Optimizing temperature, humidity, and VPD (vapor pressure deficit) is essential for successful indoor cannabis cultivation. While ambient outdoor CO₂ at 400 ppm supports healthy plants, sealed grows can boost yields by supplementing to 1,200–1,500 ppm—but only when temperature, light intensity, and VPD are already optimized. CO₂ enrichment amplifies a good environment rather than rescuing poor conditions. For smaller setups, affordable CO₂ bags offer modest ppm increases without expensive tanks, making them practical for beginners seeking environmental control without major equipment investment.
Overview
You can plant the most decorated genetics in the catalogue, but without a dialled-in environment those seeds are just potential. Temperature, humidity, and vapour pressure deficit (VPD) directly govern how efficiently your plants photosynthesize, transpire, and build cannabinoids and terpenes. Get the climate wrong and you invite mould, stunted growth, and disappointing harvests. Get it right and your Purple Punch Sorbet or Gelato expressions will reward you with the density and frost you paid for. This guide covers every environmental variable a Canadian indoor grower needs to master.
Summary
Environment is the foundation everything else is built on. Before you spend money on premium genetics or advanced nutrients, dial in your temperature, humidity, and VPD across every stage. A genetically average seed in a perfect environment will outperform elite genetics in a neglected room every single time. Get the climate right first — then let great genetics do what they were bred to do.
CO₂ Basics
Plants consume CO₂ as the raw carbon input for photosynthesis. Ambient outdoor air sits at approximately 400 ppm — enough to support healthy growth in a well-ventilated space. In a sealed, light-deprivation room where you have full control of air exchange, supplementing to 1,200–1,500 ppm can increase photosynthetic rate and yields noticeably, provided your temperature, VPD, and light intensity are already optimized. CO₂ enrichment only pays dividends when every other variable is dialled in — it amplifies a good environment, it doesn't rescue a poor one.
For smaller tents and beginner setups, CO₂ bags (such as ExHale bags) release CO₂ through mycelial metabolism and can bump ppm modestly without tanks or controllers. They won't hit 1,500 ppm, but they offer a low-cost, zero-maintenance nudge above ambient. Bottled CO₂ with a regulator and timer is the step up for serious sealed rooms. If your space uses active exhaust ventilation, enriched CO₂ will simply be exhausted before plants can use it — invest in sealing the room first.
Environment Tools
You don't need a commercial HVAC system to grow exceptional cannabis, but a few key tools make consistent environmental control achievable on any budget.
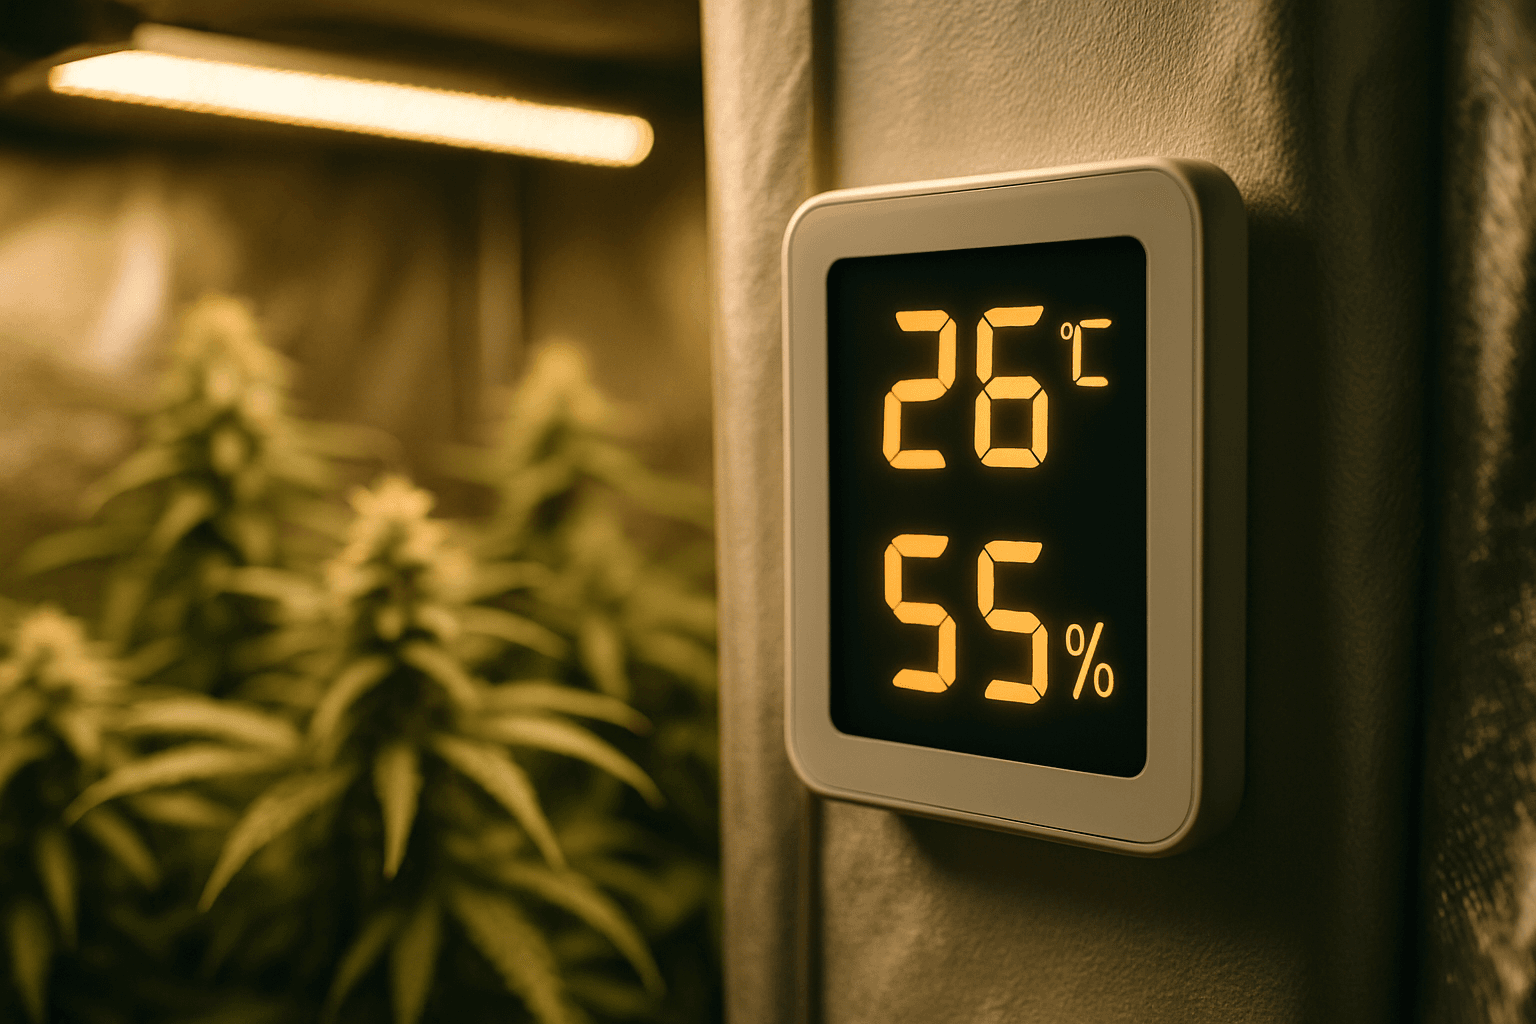
Inkbird IBS-TH2 or Govee Bluetooth sensors log temperature and humidity to your phone 24/7 — place one at canopy level, not on the wall. Inkbird IHC-200 or AC Infinity's UIS controllers automate exhaust fan speed based on temperature and humidity thresholds, removing the guesswork. Oscillating fans are essential: one at canopy level, one below, ensuring no dead air pockets where mould can establish. For Canadian summers where ambient temperatures can drive tent temps past 30°C, a portable air conditioner (8,000–12,000 BTU for a 4×4 to 5×5 tent) becomes necessary rather than optional. A dehumidifier rated for the room volume closes the loop on humidity control, especially critical during late flower.
Humidity Ranges
Relative humidity (RH) governs transpiration rate, disease pressure, and how hard your plants have to work to pull water through their root systems. Each growth stage has a distinct target range.
Seedlings (65–70% RH)
High humidity protects seedlings that have minimal root systems and rely partly on foliar moisture absorption. A propagation dome makes hitting this range effortless in dry Canadian winters.Vegetative Stage (50–70% RH)
As roots establish, you can drop RH and let the plant work harder to pull moisture upward — this builds stronger vascular tissue. Keep it above 50% to avoid excessive transpiration stress, but avoid sitting at 70% for extended periods once the canopy gets dense.Early Flower (40–50% RH)
At the flip to 12/12, begin stepping humidity down. Buds are forming but still relatively open; 45% RH is a reliable daily target that balances healthy transpiration with reduced mould risk.Late Flower — Weeks 6 to Harvest (35–45% RH)
This is where Botrytis cinerea (bud rot) becomes your single biggest threat, especially in tight, dense cultivars. Push RH below 45% and keep airflow moving through every quadrant of the canopy. Many experienced growers target 38–42% RH in the final two weeks. A dehumidifier is a mandatory investment for any serious Canadian flower room.Temperature Ranges
Temperature drives the metabolic engine of your plant — too cold and enzymatic processes stall, too hot and stomata slam shut, halting transpiration and CO₂ uptake.
Seedling Stage (Days 1–14)
Keep your propagation space between 22–26°C. Tender seedlings need consistent warmth to encourage vigorous taproot development. A seedling heat mat under your tray is worth every dollar during a Canadian winter.Vegetative Stage
Open up the range slightly to 20–28°C. Your plants are building structure now and can handle mild fluctuation, but try to hold steady near 24–26°C for peak growth rates. Temperatures at the low end slow internodal development; pushing past 28°C regularly causes unnecessary stress.Flower Stage
Drop your daytime canopy temperature to 18–26°C, ideally hovering around 22–24°C. Cooler flower environments preserve volatile terpenes that would otherwise off-gas in excessive heat.Night Drop & Anthocyanin Development
A deliberate 2–5°C night-time temperature drop is one of the easiest quality upgrades you can make. This diurnal swing mimics natural autumn conditions, triggering anthocyanin pigment expression in genetics that carry the trait — the deep purples and blues that make premium flower visually stunning. It also slightly compresses internodal spacing in late flower.Maximum Threshold
Once canopy temperatures exceed 30°C, you enter damage territory. Enzymes denature, terpenes volatilize off the surface of trichomes, and broad mite populations explode. A good digital canopy thermometer is non-negotiable — the reading on your wall sensor means nothing if your lights are cooking the tops.VPD Explained
Relative humidity tells you how much moisture is in the air. Vapour Pressure Deficit (VPD) tells you how hard the air is pulling moisture out of your plant — and that distinction matters enormously for optimizing growth.
VPD is calculated as the difference between the moisture the air could hold at a given temperature versus what it actually holds. The result is expressed in kilopascals (kPa). A high VPD means dry, thirsty air that aggressively pulls transpiration from leaves. A low VPD means the air is nearly saturated and plants transpire slowly, reducing nutrient uptake and increasing disease pressure.
Why VPD Beats RH Alone
Two rooms can share identical RH readings but have dramatically different VPD values if their temperatures differ. A grow room at 24°C / 60% RH has a VPD of roughly 1.18 kPa — ideal for mid-veg. Drop the temperature to 18°C at the same 60% RH and VPD falls to approximately 0.84 kPa — acceptable for early flower but sluggish for veg. This is why growers who chase RH numbers without considering temperature often underperform.Target Ranges
- Seedlings / clones: 0.4–0.8 kPa (gentle pull, protecting young tissue)
- Vegetative: 0.8–1.2 kPa
- Early flower: 1.0–1.2 kPa
- Late flower: 1.2–1.5 kPa (higher VPD accelerates transpiration and hardens buds)
Reading a VPD Chart
A standard VPD chart plots temperature on one axis and RH on the other, with colour-coded zones (typically green for ideal, yellow for marginal, red for danger). Find your canopy temperature, cross-reference your RH, and your VPD falls at that intersection. Apps like Pulse VPD or free online calculators eliminate the chart entirely. Once you start optimizing by VPD rather than RH alone, growth rate improvements are often immediately visible.FAQ
What CO₂ level should I aim for in my grow room?
Ambient outdoor air contains about 400 ppm CO₂, which is sufficient for standard growth. In a sealed room with controlled air exchange, increasing to 1,200–1,500 ppm can noticeably boost photosynthetic rate and yields, but only if your temperature, VPD, and lighting are already optimized. CO₂ enrichment amplifies a good environment rather than fixing a poor one.
Is CO₂ supplementation worth it for a beginner with a small tent?
For beginner setups, CO₂ bags like ExHale bags are a low-cost, maintenance-free option that can modestly increase CO₂ levels without requiring tanks or controllers. They won't reach 1,500 ppm, but they provide a practical boost above ambient if you place them above your canopy so CO₂ drifts down through the leaf zone. Move to bottled CO₂ with a regulator if you're ready to scale your sealed room setup.
What temperature range is best when I'm running high CO₂ levels?
At ambient 400 ppm CO₂, keeping your canopy around 24–26°C is ideal. When you supplement to 1,200–1,500 ppm, plants can efficiently process more light and handle higher temperatures (27–30°C) without heat stress. This is why CO₂ enrichment pairs well with high-powered lighting—your plants can fully utilize the extra light energy.
Should I run CO₂ during the dark period?
No—CO₂ enrichment is only beneficial during lights-on hours when plants are actively photosynthesizing. Running CO₂ on a timer tied to your light schedule ensures you're not wasting gas during dark hours when photosynthesis stops entirely. This approach also reduces costs and improves efficiency in sealed-room setups.
19+ | Educational horticulture only.