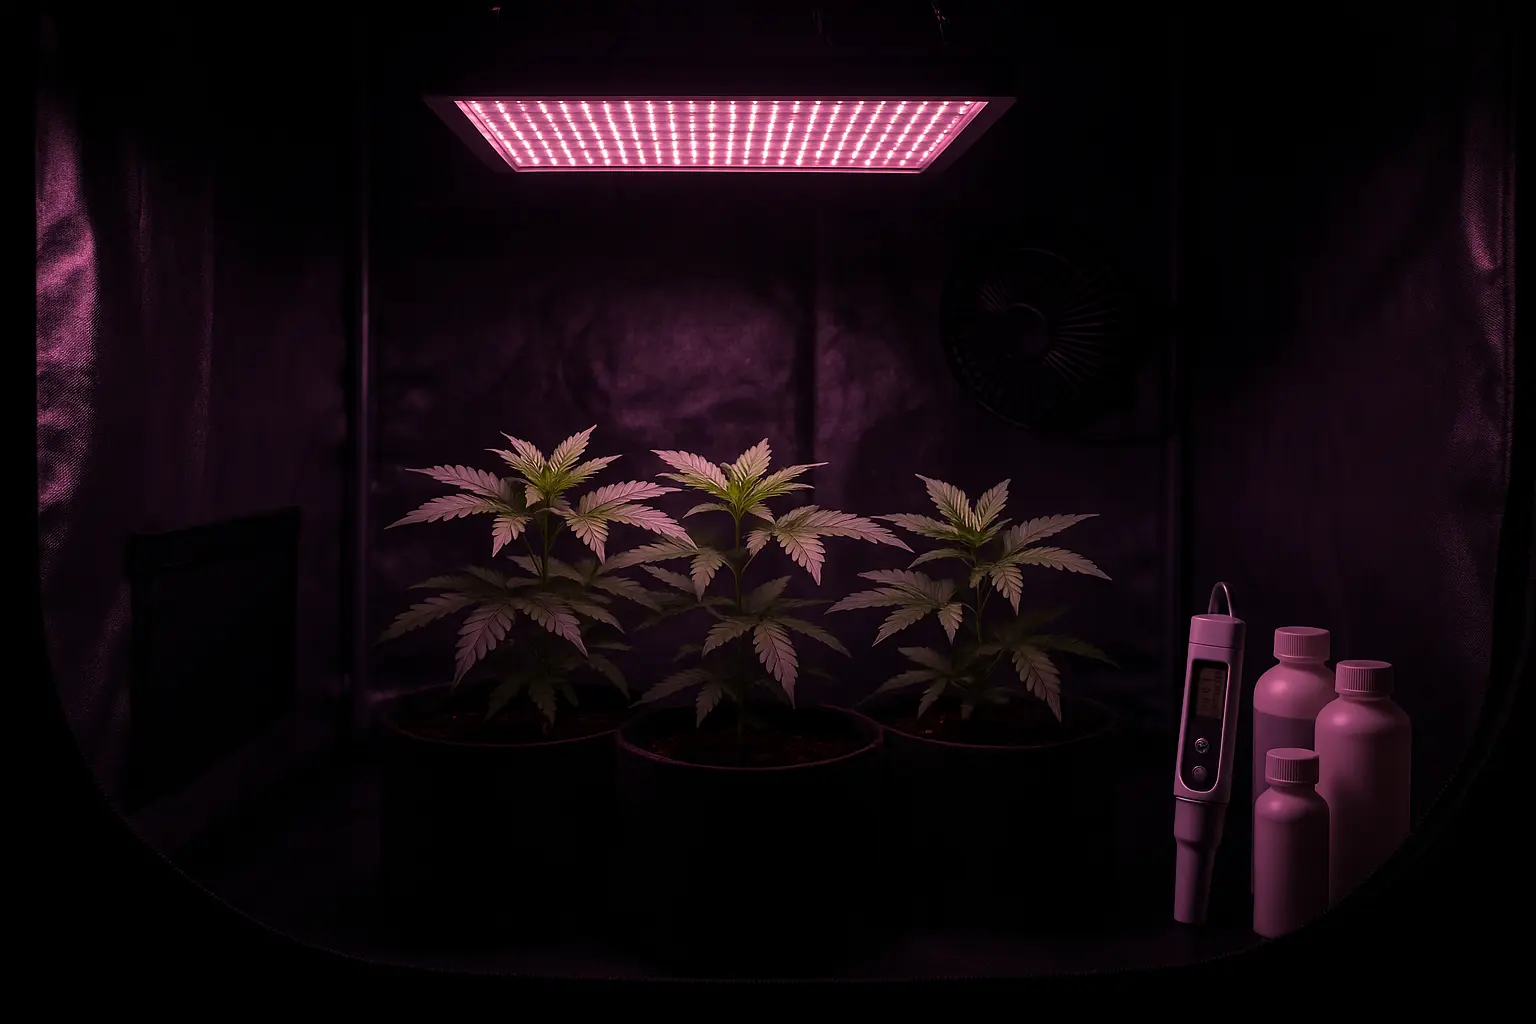
Master Your Indoor Grow
Indoor Growing Guides
How to Germinate Cannabis Seeds: 3 Proven Methods
Step-by-step guide to germinating cannabis seeds — paper towel, water glass, and direct soil methods. Tips for 99% germination success.
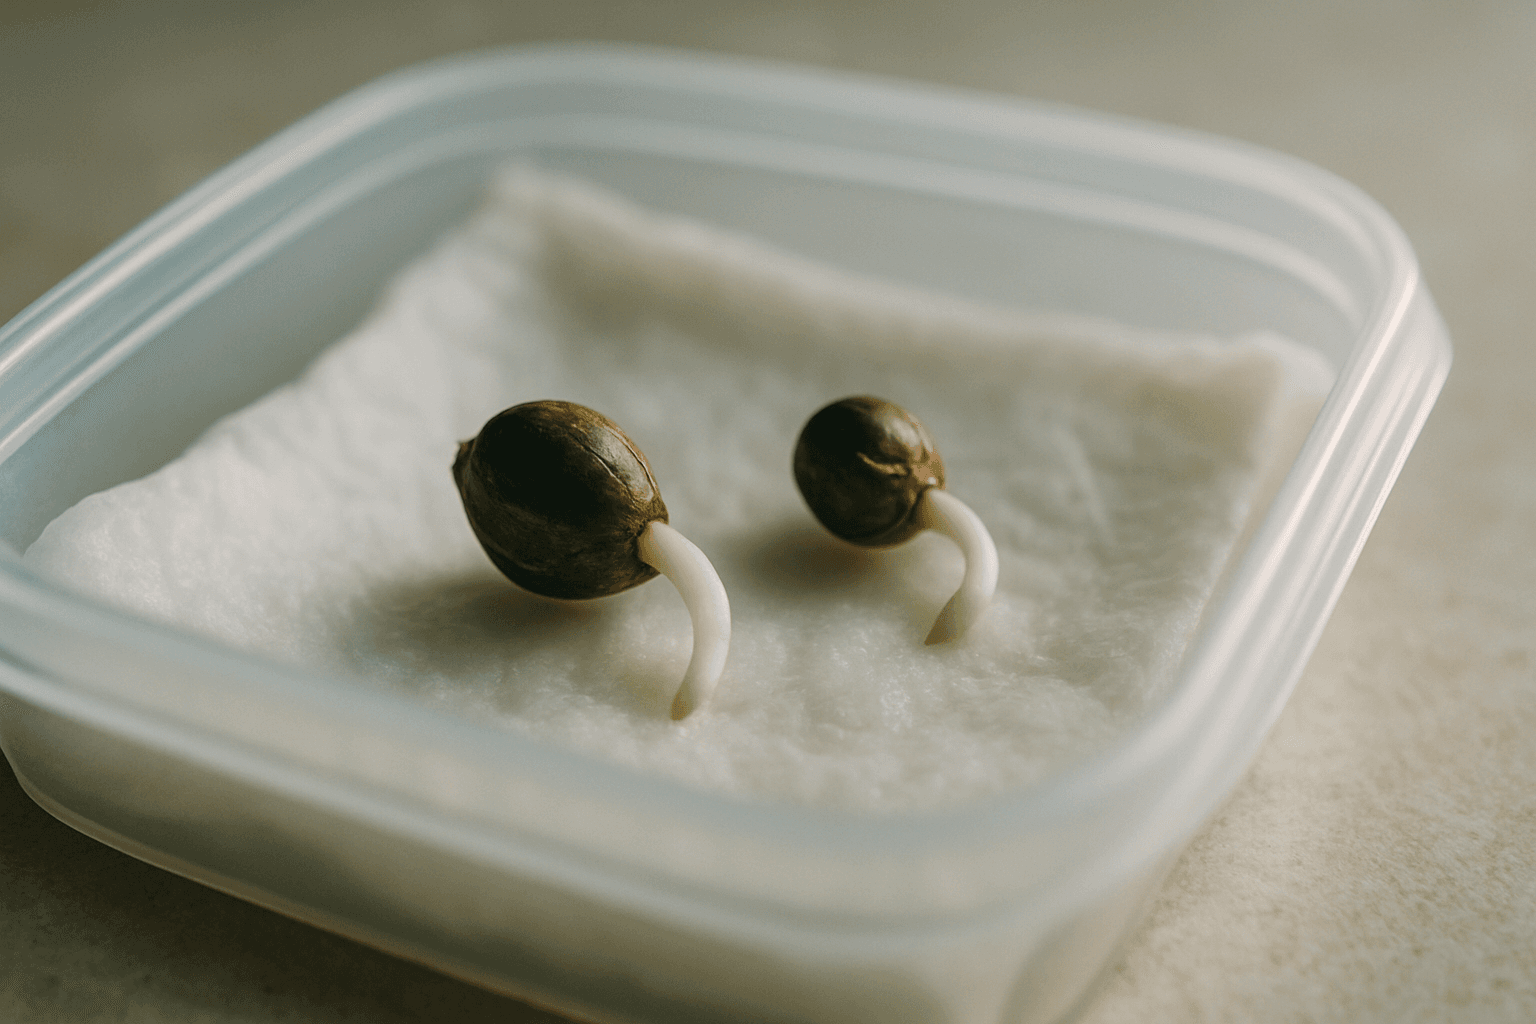
Germinating cannabis seeds requires selecting from three proven methods: paper towel, water glass, or direct soil. The paper towel method places seeds between moist towels to initiate sprouting, while the water glass technique submerges seeds to soften the seed coat. Direct soil planting eliminates the intermediate germination stage entirely, planting seeds straight into growing medium and preventing transplant shock—the taproot remains protected and never risks snapping or drying out. Proper execution of any method can achieve germination success rates near 99%. Your choice depends on growing setup and comfort level with seed handling.
Germination is the single most critical stage of your cannabis grow. Get it right and you set every plant up for vigorous, healthy development. Get it wrong and you lose time, money, and momentum before you've even started. Under ideal conditions, quality cannabis seeds from a reputable source should germinate at rates of 90–100%. When seeds fail, the culprit is almost always environmental — wrong temperature, too much or too little moisture, or rough handling. This guide walks you through the three most reliable germination methods Canadian home growers use, plus a practical troubleshooting section so you can diagnose and fix problems fast. Shop premium cannabis seeds to source quality genetics for your germination project.
At Plantation Premium Seeds, every seed we sell is hand-selected and quality-tested, and we stand behind our stock with a germination guarantee on all regular, feminized, and autoflowering varieties. Follow the methods outlined here and you're giving your seeds every possible advantage from day one.
The Paper Towel Method
The paper towel method is the most popular germination technique among home growers because it lets you visually monitor taproot development before committing a seed to soil.
What you need: Two sheets of plain white paper towel, two plates, a spray bottle of clean water, and a warm dark spot.
Step-by-step:
- Moisten the paper towel until it is damp but not dripping. When you squeeze it, only a few drops should fall — excess water encourages mold.
- Place your seeds on one half of the damp towel, spacing them at least 3–4 cm apart.
- Fold the towel over the seeds and lay the whole setup on a plate. Place a second plate on top to create a dark, humid microclimate.
- Store in a warm location — the top of a refrigerator, a cable box, or a dedicated seedling heat mat all work well. Target 21–26°C; anything below 18°C will stall germination significantly.
- Check twice daily by gently lifting the towel. Re-mist if the towel is drying out. Do not let it dry completely, even for a few hours.
- Transfer to soil once the taproot reaches 3–5 mm in length. At this stage it is robust enough to handle without breaking, but short enough that it won't coil or tangle in the towel fibers.
Transferring to soil: Use tweezers or a toothpick — never your fingers — to pick up the germinated seed. Place it taproot-down in a pre-moistened seedling hole approximately 5–10 mm deep, cover lightly, and do not compact. The seedling should emerge within 1–3 days of transfer.
The main downside of this method is the transfer step itself. Taproots are fragile, and any accidental snap at this stage means the seed is lost. Work slowly, in good light, and with a steady hand.
The Direct Soil Method
The direct soil method skips the intermediate germination stage entirely, planting the seed straight into its growing medium. The biggest advantage is that you eliminate transplant shock — the taproot is never exposed to air or handling, so there's no risk of it snapping or drying out.
Step-by-step:
- Fill a small pot (500 mL to 1 L) with a light, airy seedling mix. Avoid heavy soils or those with high nutrient loads — seedlings need a gentle start. A perlite-amended coco or a quality seedling-specific mix are both excellent choices.
- Pre-moisten the soil thoroughly before planting. It should feel like a wrung-out sponge — moist throughout, but no standing water in the saucer.
- Make a small hole approximately 5–10 mm deep using a pencil or chopstick. Precision matters here; plant too shallow and the seed may dry out before it cracks, plant too deep and the seedling will exhaust its energy reserves pushing through too much medium.
- Place the seed pointed end down (if visible) and cover loosely — do not compact the soil over it. The emerging seedling needs to push through without resistance.
- Apply the humidity dome trick: Cover the pot with a clear plastic dome, humidity tent, or even a cut plastic bottle. This traps warmth and moisture around the seed and dramatically improves success rates by maintaining a stable micro-environment without repeated watering.
- Keep the medium consistently moist but never waterlogged. Mist the surface gently — do not drench. A spray bottle gives you far more control than a watering can at this stage.
This method suits autoflowering varieties particularly well, since autos are sensitive to root disturbance and benefit most from starting in their final container with no transplant stress at all.
The Glass of Water Method
The glass of water method is the simplest approach and works well as a pre-soak before transitioning to soil or paper towel. It is especially useful for seeds with especially hard outer shells or older stock that has been stored for more than a year.
Step-by-step:
- Fill a clean glass with room-temperature water — ideally pH-adjusted to 6.0–6.5. Use filtered or bottled water if your tap water is heavily chlorinated.
- Drop the seeds in and place the glass in a warm, dark location. A kitchen cupboard near the stove or a seedling mat at low heat works well.
- Check after 12 hours. Seeds that have sunk to the bottom have absorbed enough water and are ready to crack. Seeds still floating can be gently tapped to encourage sinking.
- Do not soak for more than 24–32 hours. Extended soaking depletes oxygen in the water and can drown the embryo. If a seed has not cracked after 24 hours in water, move it to a paper towel to continue.
- Transfer immediately once a taproot is visible, or once the seed has sunk and the shell has visibly cracked. Move to paper towel or directly to a pre-moistened seedling hole.
Troubleshooting Common Germination Problems
Even with quality genetics and good technique, issues can arise. Here is how to diagnose the most common problems:
Seeds not cracking after 5+ days: Temperature is likely too low. Invest in a seedling heat mat with a thermostat — it pays for itself in the first grow. Alternatively, the seeds may need a 12-hour presoak in the glass of water method before transferring to paper towel.
White fuzz on paper towel: This is usually harmless mycelium, not mold, but it signals excess moisture. Reduce the amount of water in your towel and improve air circulation by slightly opening the plate sandwich.
Taproot is bent or coiling: Transfer to soil immediately. A coiling taproot means you waited too long — it has nowhere left to grow in the towel. Plant with the taproot pointing down and it will self-correct within a day or two underground.
Seedling emerged but the seed hull is stuck on the cotyledons: Do not force it off. Use a spray bottle to mist the hull several times over a few hours to soften it, then try again with a toothpick using the lightest possible pressure. In most cases it loosens on its own within 24 hours.
Yellow or leggy seedlings: This is a light issue, not a germination failure. Move the light closer or increase intensity. Leggy seedlings are reaching for light they are not getting.
Ready to start your next grow? Browse our full seed catalogue at Plantation Premium Seeds and find the perfect genetics for your Canadian grow space — indoor, outdoor, or greenhouse.
FAQ
How long does germination typically take with the paper towel method?
Most seeds will develop a visible taproot within 24–48 hours under proper conditions, though some may take up to 72 hours. Once you see the white root tip emerging (typically 2–5 mm), your seed is ready to plant directly into soil or growing medium. Patience matters — forcing a seed into soil before the taproot emerges reduces success rates.
What's the ideal temperature for seed germination?
Cannabis seeds germinate best at 70–80°F (21–27°C) with consistent warmth. Fluctuating temperatures slow the process and increase the risk of mold or failed germination. The top of a refrigerator, a cable box, or a heat mat all work well; just avoid cold drafts and direct sunlight.
Can I use any paper towel or does it need to be a specific type?
Plain white paper towel is ideal — unbleached or bleached both work fine. Avoid printed or patterned towels, as inks and dyes can leach into the moisture and potentially inhibit germination. Standard household paper towel from any brand will give you reliable results.
How do I know when my seed is ready to move from the paper towel to soil?
Wait until the taproot is 2–5 mm long and visibly white — this usually takes 24–72 hours. You want a clear, firm root tip before transferring; planting too early risks the delicate root breaking off. Handle the seed gently and plant the taproot pointing downward about 1–2 cm into moist soil.
What should I do if my seed hasn't sprouted after 5–7 days?
Check your temperature (70–80°F) and moisture levels immediately — the towel should be damp, never waterlogged or bone-dry. If conditions are correct and the seed still shows no activity, it may be a non-viable seed. Discard it and start fresh with a new one from a reliable source.
19+ | Educational horticulture only.